Easy No-Churn Chunky Monkey Ice Cream: Make This Beloved Treat at Home
Imagine a scoop of lusciously creamy, banana-flavored ice cream, studded with generous chunks of rich chocolate and crunchy walnuts. That's the blissful experience of Chunky Monkey, a flavor that has delighted dessert lovers for decades. But what if we told you that enjoying this iconic treat doesn't require a trip to the store or even an expensive ice cream maker? Get ready to unleash your inner dessert chef, because we're diving into the simple, satisfying world of easy no-churn chunky monkey ice cream that you can whip up right in your own kitchen!
No-churn ice cream has revolutionized homemade desserts, making the dream of artisanal-quality frozen treats accessible to everyone. Forget the fuss and embrace the fun as we guide you through creating your very own batch of this famously nutty, chocolatey, and banana-infused masterpiece. Prepare for a dessert that’s not just incredibly delicious, but also surprisingly easy to make and guaranteed to be a hit with family and friends.
The Irresistible Allure of Chunky Monkey Ice Cream
Chunky Monkey isn't just an ice cream flavor; it's a playful adventure for your taste buds. This classic combination typically features a sweet, mellow banana ice cream base, generously swirled with rich fudge chunks and earthy, crunchy walnuts. It's a symphony of textures and flavors that dance together harmoniously, creating a dessert that’s both comforting and exciting. The genius behind its creation lies in the perfect balance: the creaminess of the ice cream, the sweet burst of chocolate, and the satisfying bite of nuts.
This beloved concoction has earned its place in the pantheon of iconic ice cream flavors, and for good reason. It taps into a universal love for banana desserts, elevated by the decadent addition of chocolate and the wholesome crunch of walnuts. Whether you're a long-time fan or new to the experience, the homemade no-churn version allows you to appreciate its charm in a fresh, personal way. While the original might come from a famous pint, the essence of that majorly nutty-and-chocolatey-chunky concoction-gone-bananas is something truly special, a flavor that has us all going ape for more. For those curious about the classic profile, you can explore more about what makes the original so special here: Classic Chunky Monkey: Banana, Fudge & Walnut Perfection.
Why Go No-Churn? Simplicity Meets Deliciousness
The beauty of the no-churn method is its sheer simplicity. It completely bypasses the need for specialized equipment like an ice cream maker, which can often be bulky, expensive, and require pre-freezing a bowl. With no-churn, all you need are a few basic ingredients, a mixer (handheld or stand), and a freezer. It's the ultimate hack for homemade ice cream, making it approachable for even the most novice of home cooks.
This method typically relies on whipping heavy cream to stiff peaks, then gently folding it into sweetened condensed milk. This combination creates an incredibly airy, creamy base that freezes into a wonderfully smooth texture, rivaling traditional churned ice cream. The magic lies in the air incorporated during whipping and the high-fat content of the cream, which prevents large ice crystals from forming. This means less effort for you, and more time to enjoy the fruits (or rather, bananas) of your labor. It's the perfect solution for impromptu dessert cravings or for those hot summer days when a no-bake treat is exactly what you need.
Crafting Your Easy No-Churn Chunky Monkey: Ingredients & Steps
Making your own easy no-churn chunky monkey ice cream is a straightforward process that yields incredibly delicious results. The core ingredients for any no-churn ice cream are heavy cream and sweetened condensed milk. From there, we build the iconic Chunky Monkey profile.
Essential Ingredients:
- Heavy Cream: Full-fat heavy cream (at least 36% milk fat) is crucial for achieving that light, airy, and creamy texture. Ensure it's very cold before whipping.
- Sweetened Condensed Milk: This provides both sweetness and a smooth, non-crystalline texture to the ice cream base.
- Ripe Bananas: The star of the show! Use very ripe bananas (those with plenty of brown spots) for maximum natural sweetness and intense banana flavor. Overripe bananas are best.
- Chocolate Chunks/Fudge: You can use dark chocolate, milk chocolate, or even pre-made fudge chunks. Chopping a good quality chocolate bar yourself often provides superior flavor and texture.
- Walnuts: Provide the signature crunch and earthy balance. Lightly toasting them beforehand can enhance their flavor significantly.
- Vanilla Extract: A splash of vanilla always enhances sweet flavors.
- Optional: A pinch of salt to balance sweetness, or a tablespoon of rum/vodka (which helps keep the ice cream softer).
Simple Steps to Deliciousness:
- Prepare the Banana Base: In a bowl, mash your very ripe bananas thoroughly. For an even smoother banana flavor without chunks, you can blend them until pureed. Add vanilla extract to this mixture.
- Whip the Cream: In a large, chilled bowl, whip the cold heavy cream with an electric mixer on high speed until stiff peaks form. Be careful not to over-whip, or it might turn grainy.
- Combine Wet Ingredients: Gently fold the sweetened condensed milk into the mashed banana mixture until well combined.
- Fold Together: Carefully fold the banana-condensed milk mixture into the whipped cream. Use a spatula and a gentle hand, trying to maintain as much of the air in the whipped cream as possible. This step is key to the light texture.
- Stir in the "Chunky Monkey" Elements: Once the base is mostly combined, gently fold in your chocolate chunks and walnuts. Don't overmix!
- Freeze: Pour the mixture into a freezer-safe container (a loaf pan, an airtight plastic container, or a metal pan works well). Cover tightly with plastic wrap directly on the surface of the ice cream, then cover with a lid or foil. Freeze for at least 6-8 hours, or preferably overnight, until firm.
Pro Tip: For an extra smooth finish, before adding the chunky bits, take about a cup of the banana ice cream base and freeze it separately for an hour, then re-whip briefly and fold back into the main batch. This can help achieve an even finer texture.
Customizing Your Chunky Monkey & Expert Tips for Success
One of the joys of making homemade ice cream is the freedom to customize it to your heart's content. While the classic Chunky Monkey is perfect as is, here are some tips and ideas to make it uniquely yours:
- Banana Intensity: For a stronger banana flavor, consider adding a tiny amount of banana extract (use sparingly, it can be potent!). Or, gently cook down some banana slices with a touch of brown sugar before mashing to create a richer, caramelized banana component.
- Chocolate Choices: Experiment with different types of chocolate. Dark chocolate offers a sophisticated bitterness, milk chocolate provides classic sweetness, and white chocolate can add a creamy contrast. Mini chocolate chips or even chopped chocolate-covered pretzels could also be fun additions.
- Nutty Variations: While walnuts are traditional, pecans or even a mix of nuts can be delicious. Ensure nuts are fresh and consider toasting them lightly in a dry pan for a few minutes to bring out their oils and enhance their flavor before adding.
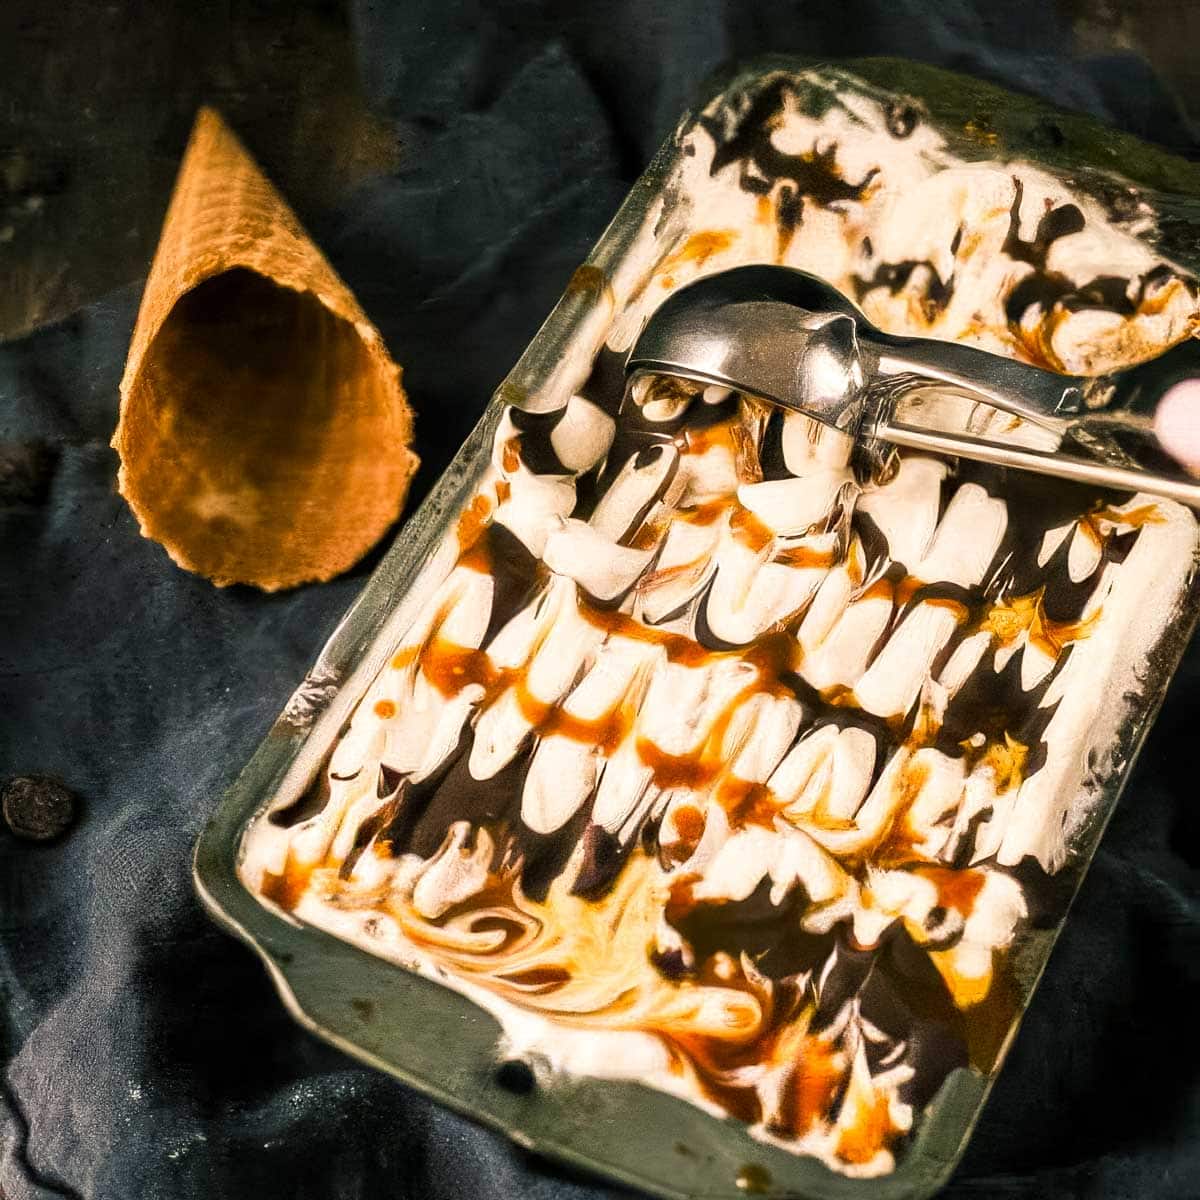
- Swirls and Sauces: For an extra layer of decadence, drizzle in some caramel sauce or a chocolate fudge ripple right before freezing. Use a knife or skewer to gently swirl it through the mixture.
- Healthy Twist: If you're looking to cut down on sugar or add a protein boost, while a traditional no-churn uses sweetened condensed milk, there are healthier versions out there. For inspiration on a more wholesome, protein-packed option, check out alternatives like High-Protein Chunky Monkey: Ninja Creami's Healthy Twist, which uses a different methodology but proves that the flavor profile can be adapted.
- Storage Matters: Always store your homemade ice cream in an airtight container to prevent freezer burn. A layer of plastic wrap pressed directly onto the surface before sealing the lid also helps. Homemade ice cream is best enjoyed within 1-2 weeks.
Remember, patience is a virtue when it comes to freezing. While it's tempting to dig in early, allowing the ice cream to fully set will give you the best scoopable texture and concentrated flavor.
Conclusion: Your Homemade Chunky Monkey Awaits!
You've now unlocked the secret to crafting your very own easy no-churn chunky monkey ice cream at home. This simple, satisfying recipe proves that you don't need fancy equipment to create an incredibly delicious, creamy, and chunky frozen dessert. From the sweet banana base to the delightful surprise of fudge chunks and crunchy walnuts in every spoonful, this homemade version offers all the classic appeal with the added pride of having made it yourself.
So, the next time a craving for something sweet, chunky, and utterly satisfying strikes, don't hesitate to "monkey around" in the kitchen. Gather your ingredients, follow these easy steps, and prepare to go ape for the best homemade chunky monkey ice cream you've ever tasted. Enjoy the pure joy of a truly spectacular dessert, made just for you!
